Giant Magnetoresistance Sensors for Aircraft Inspection

Nondestructive inspection of multi-layered airframe geometries is a significant challenge largely due to complexity of test geometry and deep lying defects. Structural geometry of interest includes different configurations of aircraft skins, stringers, doublers, wing-splice with fasteners and deep lying cracks and corrosion. Inspection of these complex geometries requires dealing with a large number of variables which affect damage detection performance (material, size, thickness, edges, air gaps, etc.), experimental sensor system (frequency, waveform shape, harmonics, sampling intervals, circuit design etc.), and defect variables (length, width, volume, shape, distribution, orientation, etc.). Combination of these classes of variables encountered in any inspection makes the interpretation of the signals very challenging.
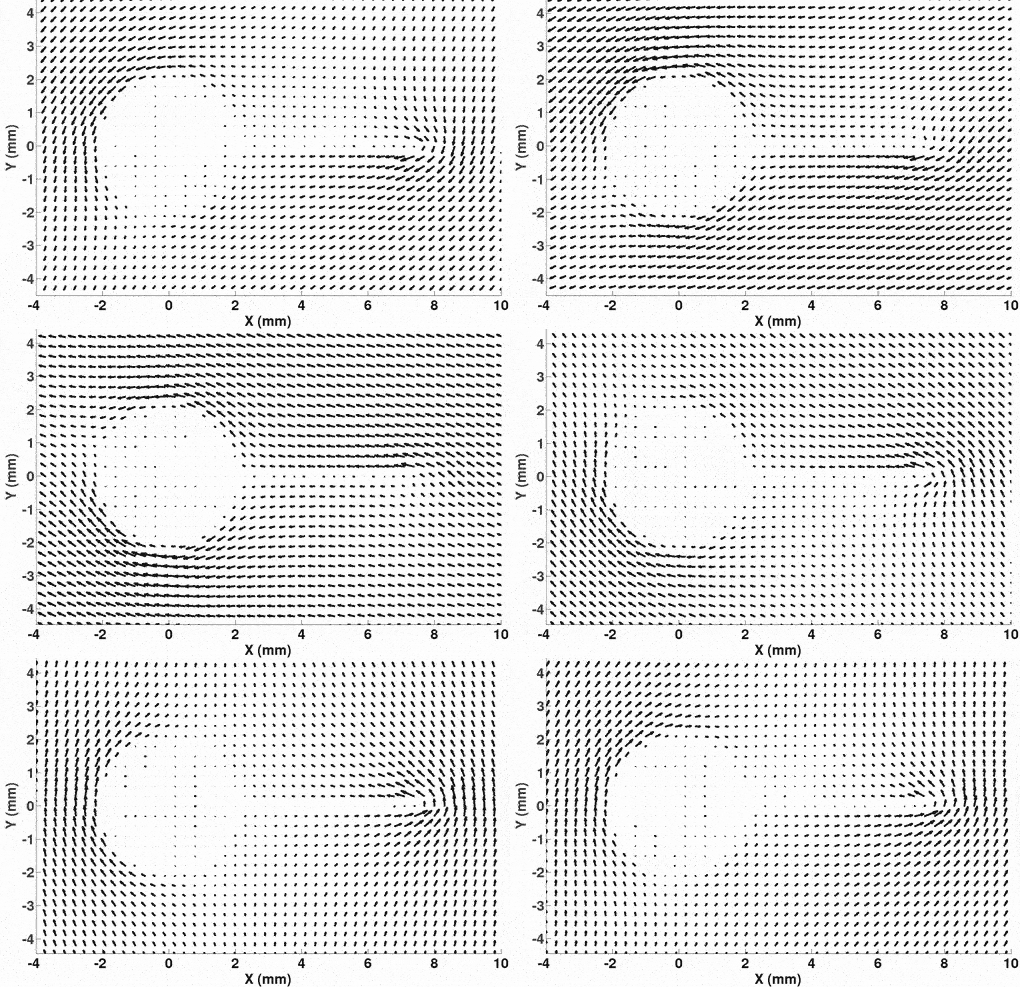
The purpose of this project was to design, fabricate and test a novel transducer and inspection technique for detecting cracks near fastener sites in aircrafts with high efficiency and sensitivity. The transducer uses Giant Megnetoresistance (GMR) sensor arrays for increasing sensitivity and reducing required aircraft scan times. Also, a rotating coil excitation is used, which allows the probe to be uniformly sensitive to cracks oriented in arbitrary direction. This is a significant advancement over the previous state-of-the-art, where probes were only sensitive to cracks oriented parallel to the direction of coil current flow. A finite element model (FEM) was also developed for simulating the designed probes. FEM simulations were then used for optimizing the probe design, including GMR sensor placement, excitation coil parameters, and signal processing methods.